Build Your Dream PC: Lightning-Fast Custom Rigs
- Kevin Hummel
- 7 hours ago
- 4 min read

Building your own PC can be one of the most rewarding experiences for tech enthusiasts and gamers alike. Not only does it allow you to tailor your machine to your specific needs, but it also gives you a sense of accomplishment. In this guide, we will walk you through the essential components, considerations, and steps to create a lightning-fast custom rig that meets your demands.
Understanding Your Needs
Before diving into the components, it’s crucial to understand what you want from your PC. Are you a gamer looking for high frame rates? A content creator needing powerful rendering capabilities? Or perhaps a casual user who just wants a reliable machine for everyday tasks? Identifying your primary use case will help you make informed decisions.
Key Considerations
Performance Requirements: Determine the software and games you plan to use. Research their system requirements to gauge the necessary specifications.
Budget: Set a realistic budget. Custom PCs can range from a few hundred to several thousand dollars, depending on the components you choose.
Future-Proofing: Consider investing in components that will remain relevant for several years. This can save you money in the long run.
Essential Components
Now that you have a clear understanding of your needs, let’s explore the essential components that make up a custom PC.
1. Central Processing Unit (CPU)
The CPU is the brain of your computer. It processes instructions and performs calculations. When selecting a CPU, consider:
Core Count: More cores can improve multitasking and performance in demanding applications.
Clock Speed: Measured in GHz, higher speeds generally mean better performance.
Brand: AMD and Intel are the two leading brands. AMD CPUs often offer better multi-threading performance, while Intel CPUs excel in single-threaded tasks.
2. Graphics Processing Unit (GPU)
For gamers and content creators, the GPU is arguably the most critical component. It handles rendering graphics and video. Key factors to consider include:
VRAM: More video memory allows for better performance in high-resolution gaming and rendering.
Ray Tracing: If you want to experience the latest graphics technologies, look for GPUs that support ray tracing.
Brand: NVIDIA and AMD are the primary players in the GPU market. NVIDIA cards are known for their performance and features like DLSS, while AMD cards often provide better value.
3. Motherboard
The motherboard connects all your components. When choosing a motherboard, consider:
Socket Type: Ensure it is compatible with your CPU.
Form Factor: ATX, Micro-ATX, and Mini-ITX are common sizes. Choose one that fits your case.
Features: Look for features like Wi-Fi, Bluetooth, and USB ports that meet your needs.
4. Memory (RAM)
RAM is essential for multitasking and overall system performance. Consider the following:
Capacity: 16GB is generally sufficient for gaming, while 32GB or more is ideal for content creation.
Speed: Measured in MHz, faster RAM can improve performance, especially in gaming.
5. Storage
Storage options have evolved significantly. You can choose between:
HDD (Hard Disk Drive): Offers large storage capacities at a lower cost but is slower.
SSD (Solid State Drive): Provides faster load times and better performance but is more expensive per GB.
NVMe SSD: The fastest option, ideal for gaming and heavy workloads.
6. Power Supply Unit (PSU)
The PSU powers your entire system. When selecting a PSU, keep in mind:
Wattage: Ensure it can handle the total wattage of your components.
Efficiency Rating: Look for 80 PLUS certification for better energy efficiency.
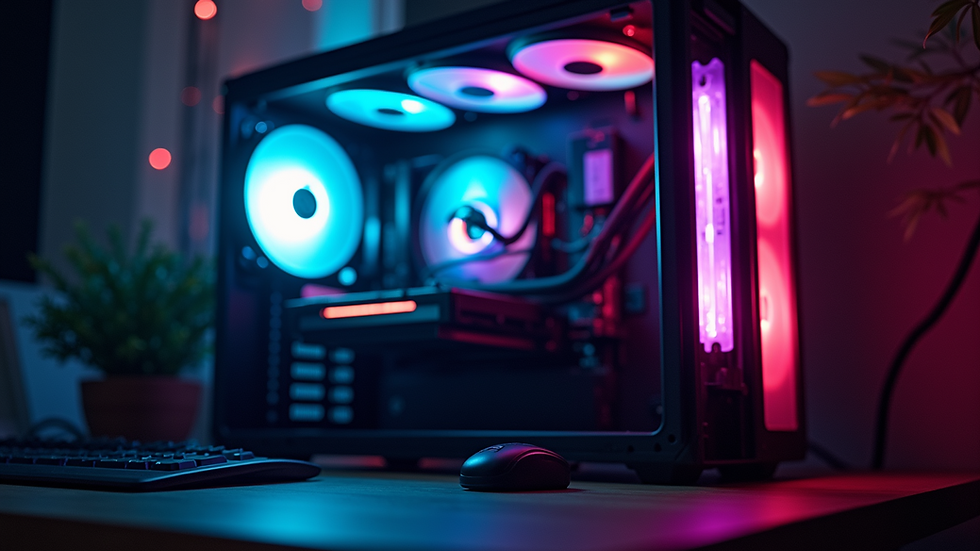
7. Case
The case houses all your components. Consider the following:
Size: Ensure it fits your motherboard and has enough space for your GPU and cooling solutions.
Cooling Options: Look for cases with good airflow and options for additional fans or liquid cooling.
8. Cooling Solutions
Keeping your components cool is essential for performance and longevity. You can choose between:
Air Cooling: Generally more affordable and easier to install.
Liquid Cooling: Offers better cooling performance but can be more complex and expensive.
Building Your PC
Once you have all your components, it’s time to build your PC. Follow these steps for a successful assembly:
Step 1: Prepare Your Workspace
Choose a clean, static-free environment to work in. Gather your tools, including a screwdriver and anti-static wrist strap.
Step 2: Install the CPU
Open the CPU socket on the motherboard.
Align the CPU with the socket and gently place it in.
Secure the CPU with the locking mechanism.
Step 3: Install RAM
Locate the RAM slots on the motherboard.
Open the clips on the slots.
Align the RAM sticks with the slots and press down until they click into place.
Step 4: Install the Motherboard
Place the motherboard in the case, aligning it with the standoffs.
Secure it with screws.
Step 5: Install the GPU
Locate the PCIe slot on the motherboard.
Remove the corresponding slot cover on the case.
Insert the GPU into the PCIe slot and secure it with screws.
Step 6: Install Storage
Mount the SSD or HDD in the designated bays.
Connect the SATA cables to the motherboard and power supply.
Step 7: Connect the PSU
Connect the main power cable to the motherboard.
Connect power cables to the GPU and storage devices.
Step 8: Install Cooling Solutions
If using air cooling, attach the CPU cooler according to the manufacturer’s instructions.
For liquid cooling, follow the specific installation guide for your cooler.
Step 9: Cable Management
Organize and secure cables to improve airflow and aesthetics. Use zip ties or Velcro straps to keep everything tidy.
Step 10: First Boot
Connect your monitor, keyboard, and mouse.
Power on the PC and enter the BIOS to ensure all components are recognized.
Install your operating system and drivers.
Optimizing Your PC
After building your PC, you can optimize it for better performance. Here are some tips:
Update Drivers: Ensure all drivers are up to date for optimal performance.
Overclocking: If you’re comfortable, consider overclocking your CPU and GPU for additional performance.
Regular Maintenance: Keep your system clean and dust-free to prevent overheating.
Conclusion
Building your dream PC is a fulfilling project that allows you to customize your setup to fit your unique needs. By understanding your requirements, selecting the right components, and following the assembly steps, you can create a lightning-fast custom rig that will serve you well for years to come.
Take the plunge and start your PC-building journey today. With the right knowledge and tools, you’ll be amazed at what you can create!


Comments